Kefir? What on Earth?
Kefir is a fermented milk drink. Kefir can be made from “grains” or “cultures” which ferment the milk by digesting the lactose. It reminds me of a drinkable plain yogurt The grains that ferment the milk, is a colony of bacteria and yeast. The process of this colony consuming the lactose of the milk increases its probiotic and nutrient density.
Kefir is from the Balkans in Eastern Europe and the Caucasus Mountains, between Russia and Turkey. Made primarily from cow, goat, or sheep milk (usually any milk containing lactose). The fermentation process starts when added the grains or cultures are added to the milk. This fermentation process usually happens over the course of 18-24 hours. The result of this microbial fermentation is a thick and creamy milk beverage that is similar in consistency to a drinkable yogurt but boasts a broader spectrum of probiotics and nutrients.
Kefir Grains
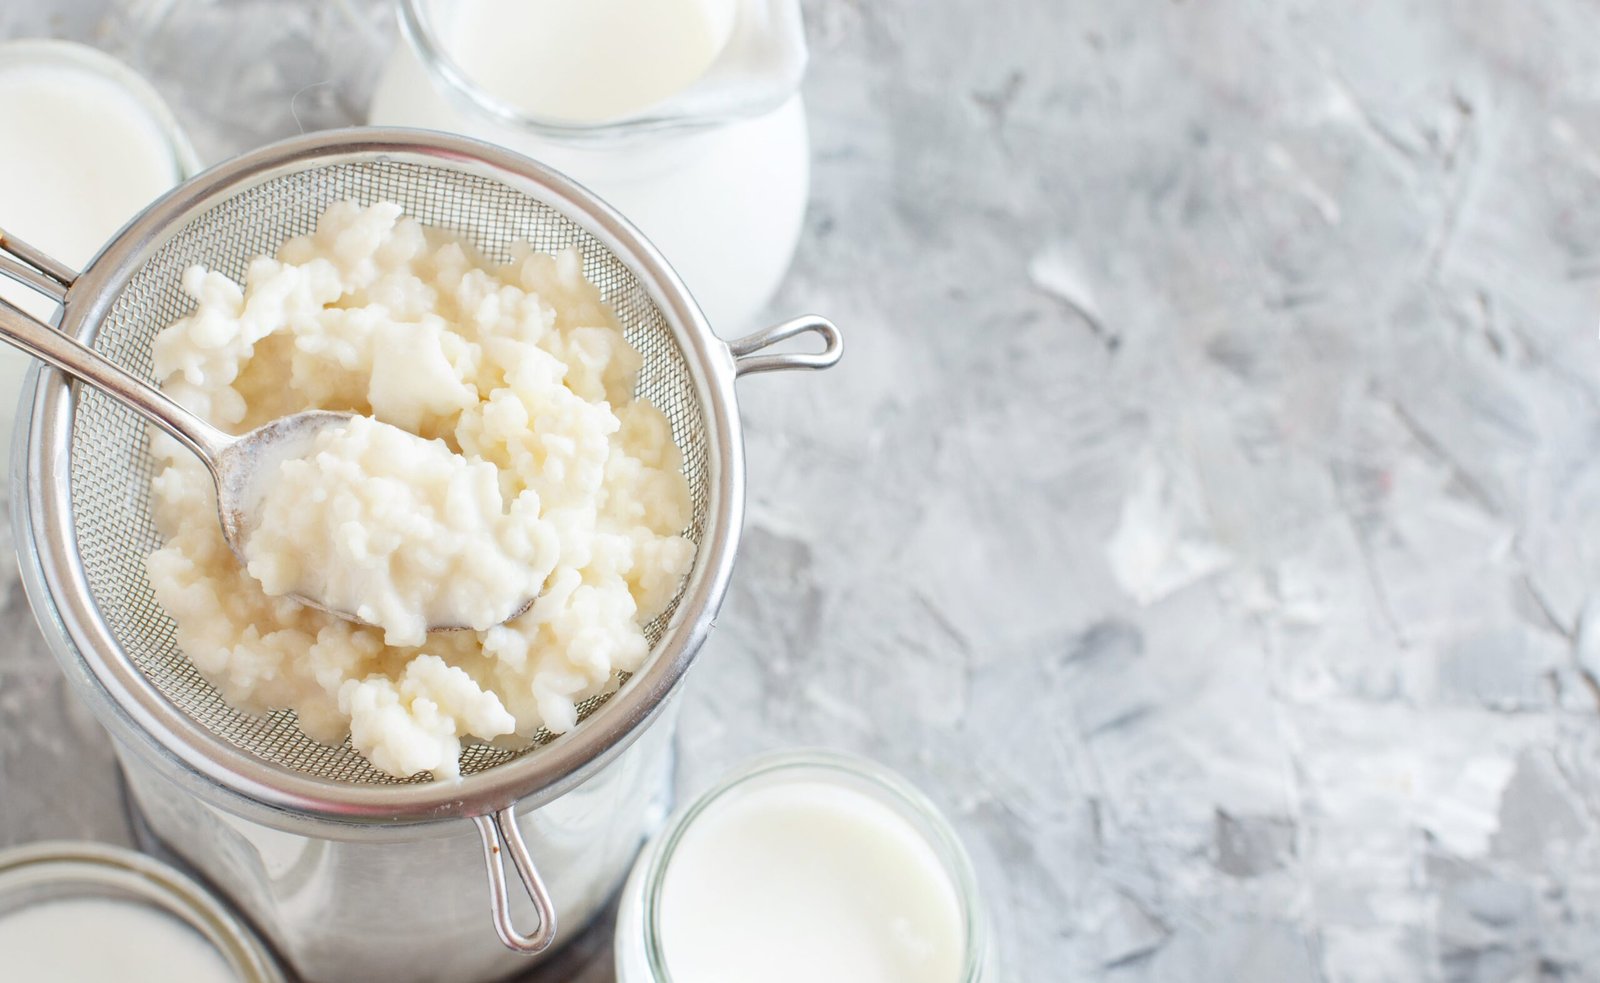
Kefir grains are gelatinous, irregular shaped globular grains (resembling small cottage cheese curds) which are responsible for fermenting the milk. These “grains” are little colonies of bacteria and yeast. They continue to grow in size. As your grain colony grows, you’ll need to use more milk or less grains per batch of kefir.
Kefir grains are readily available from multiple sources. You can also reach out to friends and family, or ask around on forums or in local social media groups. However, if you go to FusionTeas.com, their kefir is cheaper than their Amazon store. Make sure you look at the reviews to ensure you’re not wasting your money, and that you’re buying from a reputable person/company.
Kefir Cultures
Kefir cultures are packets of freeze-dried cultures. They are not grains and nor can they turn into grains, but they are a freeze-dried kefir culture. When I started with kefir, this is the route I went because it was readily available.
I used about three packets worth of cultures while waiting for my kefir grains from Fusion Teas. I prefer kefir from grains as it has a lighter taste and is slightly zingy on the tongue. The three batches I made had no effervescence, and I feel that the cultures were slightly more tangy. I still got a pretty good boost of energy.
The Benefits of Homemade Kefir
Kefir has a unique taste and also numerous health benefits. It is very easy to make, especially if you have a process. Below is 8 benefits of kefir:
- Rich in Probiotics: Kefir contains a wider variety of probiotic cultures compared to other milk products. Probiotics can help improve digestion, balance the gut microbiome, and may even boost immunity. It also contains around 60 different types of probiotics, including yeast varieties, in addition to the probiotics that milk contains.
- Nutrient-Dense: It is a good source of essential nutrients. According to a study, “The Many Faces of Kefir Fermented Dairy Products“, the fermentation process enriches the nutrient content.
- Supports Digestive Health: The probiotics in kefir can help with various digestive problems.
- May Improve Bone Health: The high levels of calcium and vitamin K2 present in kefir contribute to maintaining strong bones, reducing the risk of osteoporosis.
- Potentially Antimicrobial and Anti-Inflammatory: Some studies suggest that kefir can play a role in fighting infections and reducing inflammation due to its antimicrobial and anti-inflammatory properties.
- Cost Savings: I used to buy kefir in the store for my wife before I started making it myself. There’s only about 4 servings in your typical store bought kefirs. That’s about $1.15 per serving. Since making my own kefir, I spent $30 on the grains (which you can get cheaper, possibly free) and $5 on a 64-ounce bottle as a one-time cost. For $7.00 per a gallon of milk, I can then make a 64-ounce jar of kefir in a day for about $3.50. That’s only $0.44 per serving!
How to Make Kefir at Home
Making kefir at home is a simple and cost-effective way to enjoy a healthy, adaptable drink. I’ve taken the ratio from Clean Food Living’s Milk Kefir Masterclass, along with my own experimentation and equipment. Here’s how I do it:
First Fermentation
Your first fermentation will be somewhat of an experiment, but will be very simple. Even though I had done lots of research, my first fermentation was full of me second guessing myself. Be strong. Be patient. It’s important to let the grains feed. My grains came in the mail, and it is HOT here in Arizona. However, as soon as I got the grains, I set out some milk to get it to room temperature and then transferred the grains to a clean bottle, then poured the milk on top.
Five or six fermentations in, and I’m itching to further experiment with different types of milk, including a fusion of different spices/herbs. I wanted to make sure to do some research to better understand kefir and its capabilities before I started manipulating it. It is, after all, live bacteria, and I wanted to make sure I respected the colony that will be taking care of me for years to come.
Supplies
What you’ll need:
- a large, wide-mouth Mason jar (I got some 64 ounce jars from my local Sprouts)
- a lid (I prefer mason rings and parchment paper)
- a large, stainless steel strainer
- Plastic or stainless steel bowl
I clean my jar and lid with dish soap. Rinse and then dry with a clean towel.
Ingredients:
- 1 tablespoon of kefir grains (FusionTeas.com)
- 2 cups of milk (preferably organic and whole)
Preparation:
- Prep the Milk and Grains: When you first get your grains, they may be hot or cold. I pulled 2 cups of milk from the fridge and let that warm up, while my grains were cooling down to room temp. I didn’t want to shock the grains, and I also didn’t want to put the grains in a cold environment, as that can cause the kefir grains to go dormant.
- Mix the Grains and Milk: Pour the room temperature milk into the jar and then dump your grains into the milk. Cover the jar. As I said in the supplies list, I prefer the Mason ring and a small square of parchment paper. It breathes and prevents stuff from entering and I can write on it. Perfect!
Fermentation…and Beyond!
- Activation: Now the hard part, leave the jar at room temperature (around 68-85°F). I kept my first ferment at room temperature, or 78°, for around 36 hours. The exact time will depend on your environmental temperature. My kefir is completing fermentation in about 24 hours.
- Strain: Once 36 hours has elapsed, or you see the whey spots, strain the mixture through a strainer to separate the grains from the liquid. Avoid using metal as it can react with the bacteria of the grains, however, stainless steel is non-reactive and is fine for periods of short exposure. This first batch you’ll be throwing out. This is purely precautionary. You can try it out, but a lot of times it takes longer for the first batch to ferment the milk, so the milk can actually go bad and taste off.
Prepping your Next Batch
- Store and Reuse the Grains: You can reuse the grains immediately for another batch, or store them in the refrigerator. Transfer the kefir into a storage container with a small amount of milk and refrigerate.
- Enjoy your fermentation: Enjoy your kefir plain or flavored with fruit, honey, or vanilla for added taste. I like to add cinnamon and honey to mine. This is where you get to experiment. Try different combinations of smoothies or drinks.
Additional Fermentations
A rule of thumb, the warmer the temp, the shorter the fermentation. Also, you don’t want to overload your jar with too many grains. A shorter fermentation results in a milder taste, while a longer fermentation makes the kefir tangier. Also, the fermentation may start to separate, depending on how long you leave it. This is purely a preference. From what I’ve seen, and my preference, is to wait until you start seeing “spots” of the mixture curdling away from the jar.
Additional ferments will be done in much of the same way, except you’ll need two additional jars, one empty and one filled with room temperature milk. With your completed kefir, you’ll place the strainer over the empty bowl or jar, then strain the grains. You’ll see the grains, just move the mixture around to ensure you separate the kefir from the grains and allow it to strain completely. Then, simply dump the grains into the room temperature milk. Seal in your preferred method and put away. Now, you can seal and refrigerate
Conclusion
Kefir is not only a flavorful addition to your diet but also a potent source of probiotics and nutrients that is adaptable to both drinks and smoothies. Making it at home is usually pretty cheap, once you have all the supplies, and can be a rewarding and healthy practice that could positively contribute to your overall well-being and health.
Kefir has a ton of health benefits, from helping with digestion to helping stabilize blood sugar. It’s surprisingly quicker than you’d think to ferment larger amounts, so you’ll be wondering what to do with all your kefir you’re able to make with just two large jars. So, whether you’re looking to boost your digestive health or just enjoy a new tasty beverage, kefir is worth a try!